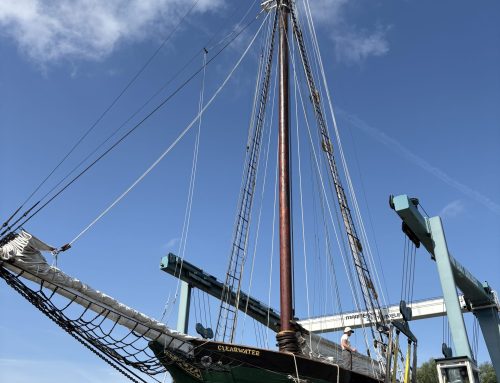
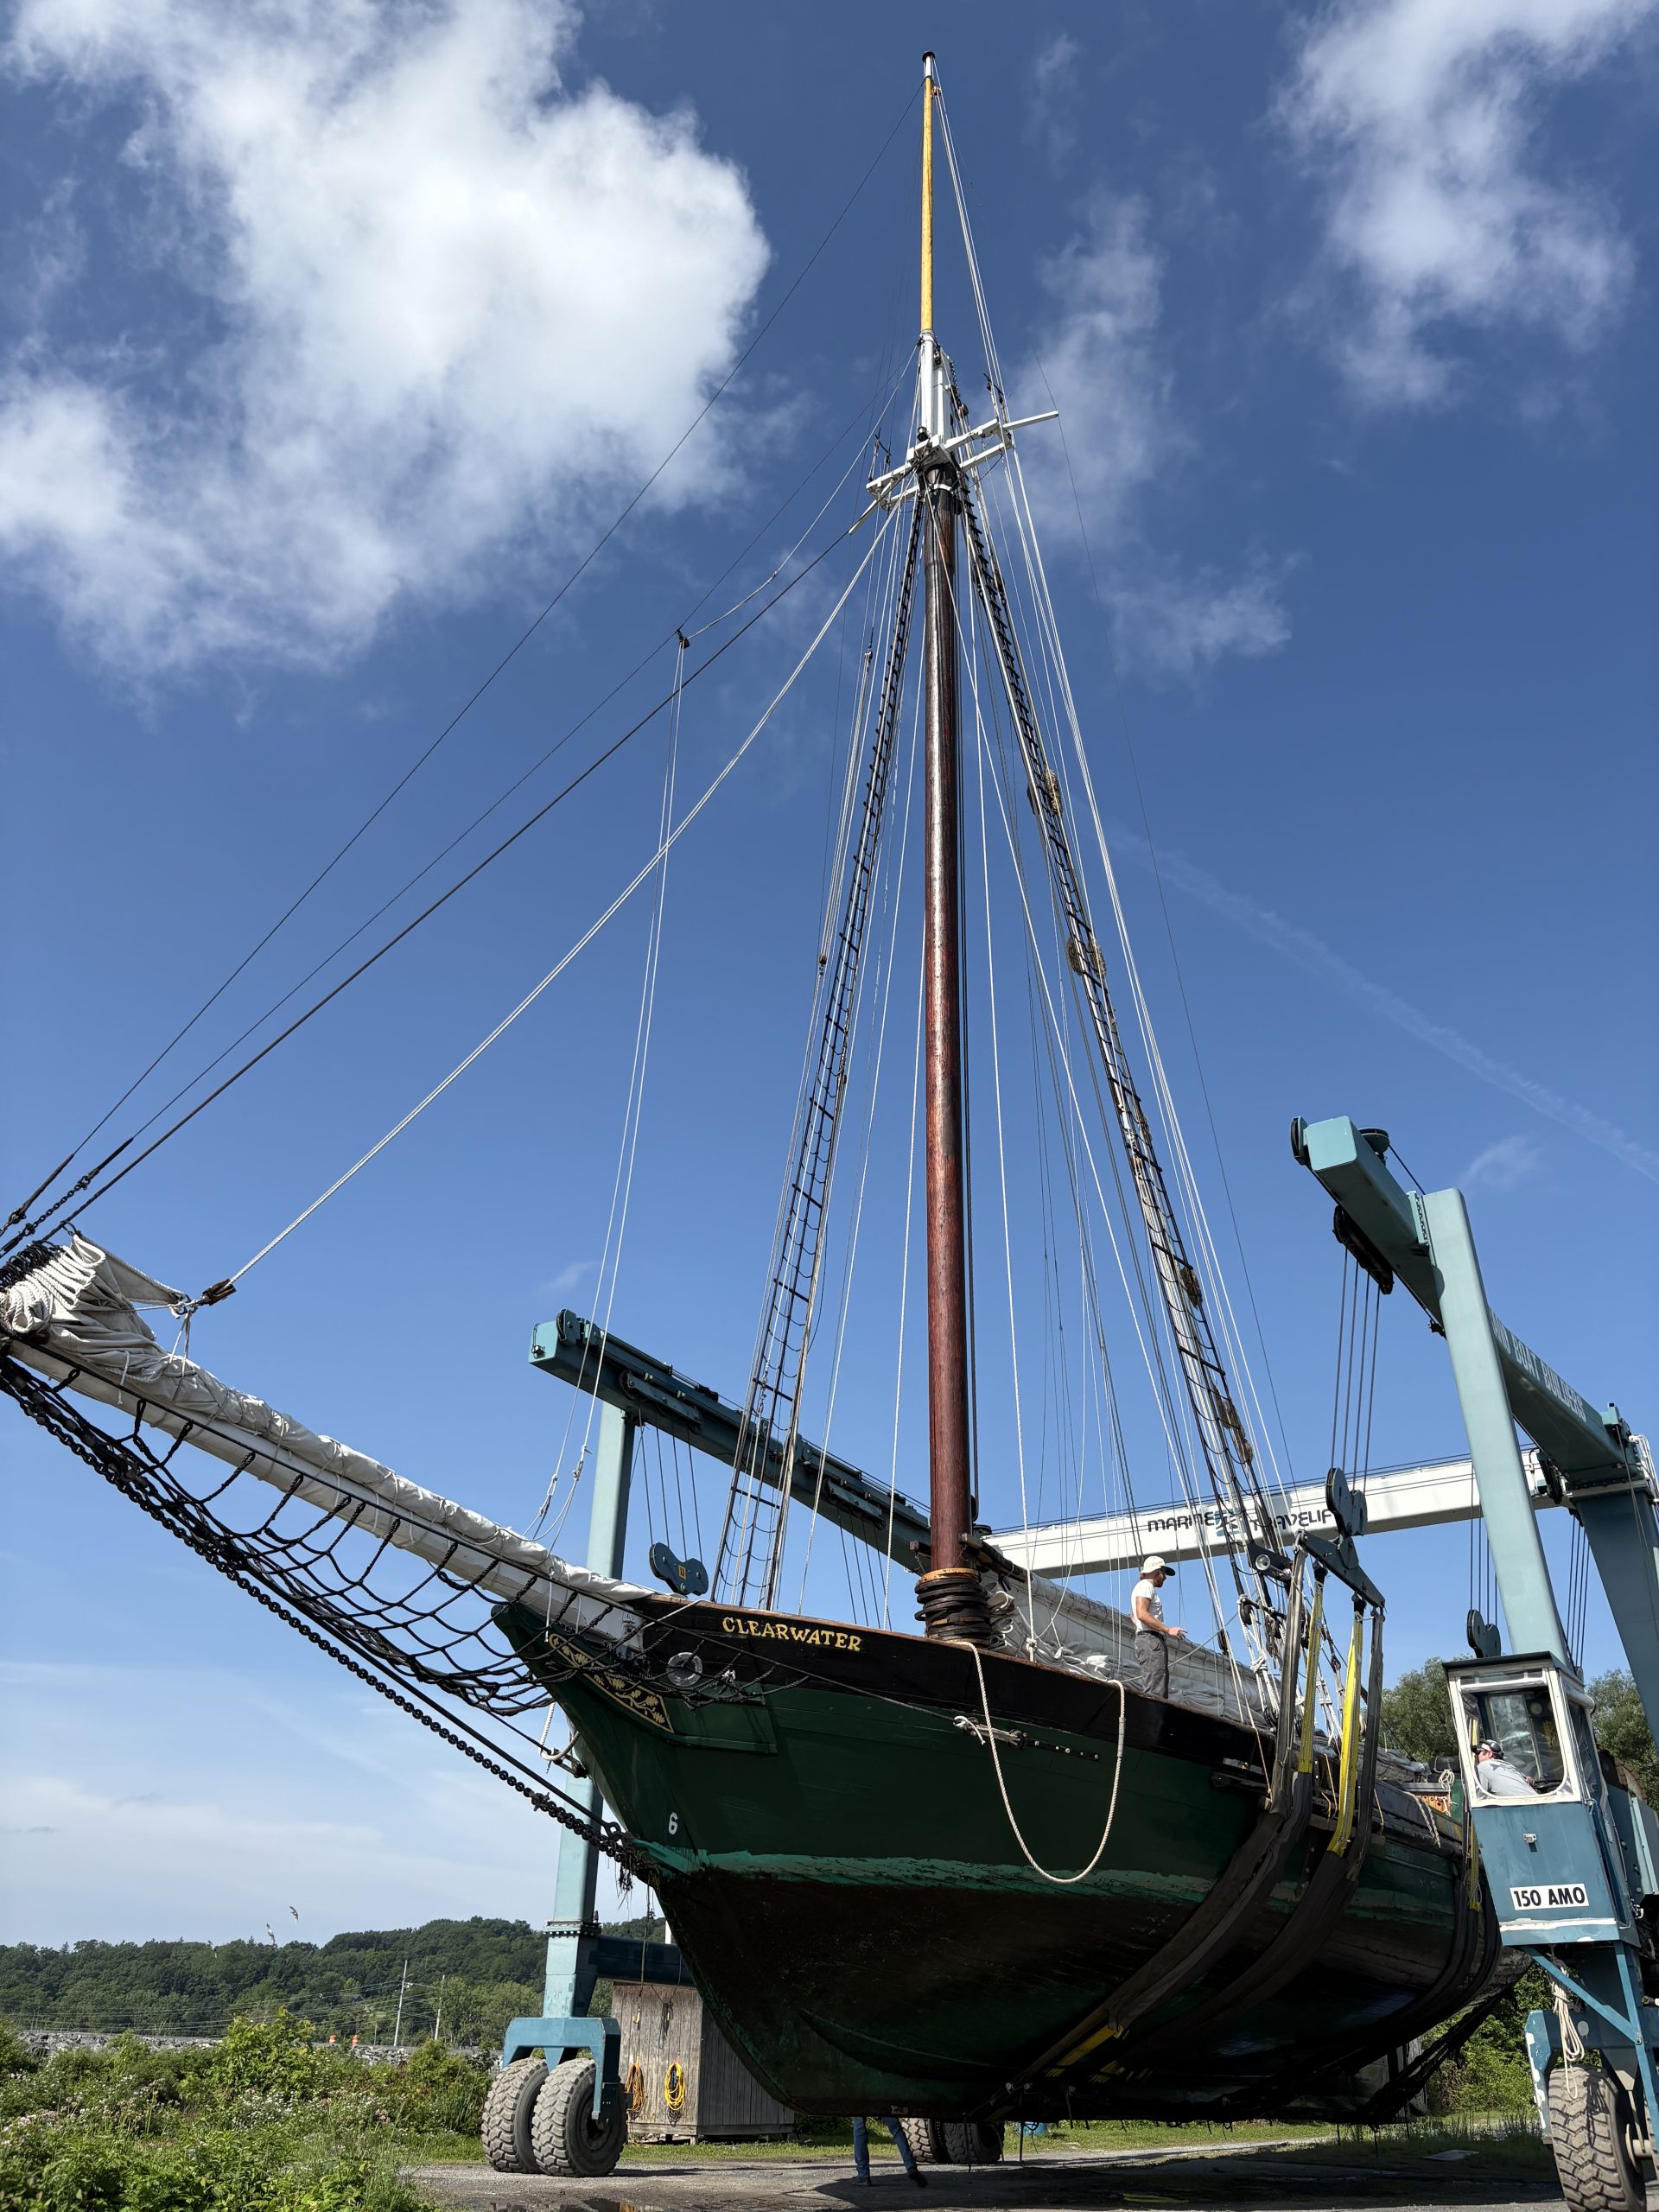
Hi all you landlubbers, armchair sailors and wooden boat enthusiasts! I wanted to shoot a quick log out there for a little restoration wrap-up review; just a few words and photos about some of the processes used in this monumental project. I’ll start from the beginning…
Felling a tree –
Our Board President, Allan Shope is a renowned sustainable architect and builder and a master at scouting for trees. On a trip to Ohio he found a stand (a grouping) of old white oak trees that he believed would be perfect for our restoration project. White Oak is highly prized in the boatbuilding industry because it is exceptionally strong and rot-resistant. When Allan went looking for trees, he wanted something very tall and very straight, and that’s what he found.
Arrival of the first tree
Milling a tree –
Once the tree is cut down, it is transported to a mill to be cut into usable pieces. A wood mill is essentially a big sideways saw and some can even be put on a trailer and driven around – though those are usually for smaller jobs. Some mills will cut the trunks down into many smaller pieces, standard sizes for everyday lumber. But for our project, Captain Nick, Shipwright Jim Kricker, and Allan kept the cutting rough so that Nick and Jim could do the more detailed sizing at the boat. What they found when they started milling the trees was even better than they had imagined – beautiful tight grain (which means a stronger plank) and very few knots. Knots, the result of old branches, are an interruption in the flow of the grain and a weakness in the plank. The lumber was milled in two different thicknesses; 4+inches to become frame stock (remember the frames are the ribs of the hull), and 2.5+” to become plank stock (the skin of the hull). Once the milled stock gets to the shop at Lynch’s it will be run through a large power planer to refine the thickness piece by piece.
The mill about to cut
Cutting, shaping & installing frames and planks –
In rebuilding a hull, the frames, made up of a number of “futtocks”, have to go in first – they are the ribs to which the planks get fastened. The process is a little more straight forward than that of re-planking.
FRAMES: 1. Get the old futtock out while leaving its neighbor in tact. 2. Take a very thin piece of plywood, called luan, and trace then cut a template. 3. Place template on oak stock and trace the outline. 4. Take your oak stock over to the shipsaw (a large rotating power saw), we recommend having a friend or two help carry the lumber, and cut out your new futtock. 5. Use a planer (manual or power, depending on the amount of trimming you need to do) to trim the sides to the right shape and angle – not too many right angles in our hull. 6. Clamp your futtock in place, drill your holes (with a very long drill bit), get your galvanized nuts and bolts in and secure. Now do that again – 30 TIMES.

Shipwright Wayne Ford installing a futtock
PLANKS: 1. Take a piece of luan and tack it up adjacent to an existing plank (either above or below). 2. Use a constant unit of measurement, usually a few inches, down (or up, if your luan is above the existing plank) to describe (draw) a line on the luan that represents the shape of the edge of the existing plank. This is called spiling and it is the method used to determine the shape of the new plank. One cannot simply “trace” the shape of an old plank as with the frames, because of the length and variety of shape found in planking. 3. Place the luan on top of the oak stock and measure back up from the line or markings on the luan to get the line you must cut for the edge of your plank that will be immediately adjacent to the existing plank. 4. Measure down from that line to draw the lower edge of the plank. 5. Head back to the shipsaw to cut the piece. 6. Use power and hand planes to shape the edges of the plank to fit with its neighbor (and create a space for the caulking – more on that next log). 7. Place the finished plank in the steam box for a couple hours – white oak is stiff and strong, and the steaming renders it flexible enough to be able to bend to the curve of the hull. 8. Remove the plank from the steam box and muscle, bend and clamp it into place – quickly. 9. Drill two holes, diagonal from each other, at each frame. 10. Finally you get to take a big old sledgehammer and drive in the galvanized boat nails used to secure the plank to the frames. Whew, I’m exhausted just from writing about it, try doing that twice a day like our team has been doing.

Planks filling in the port side from the top and bottom
The finishing touches –
Getting all the frames and planks built and installed is far from the end of the project. All kinds of jobs follow, like caulking, fairing, priming and painting, but we’re not quite there yet. You’ll have to stay tuned for the next log to follow the last bit of our path back into the water. But for now, you can check out another photo gallery and come celebrate with us as the last plank goes in this Saturday at our last Open Boat and Family Day in Saugerties.


